Have you ever scrolled through social media and wondered whether an image was photographed or generated with AI?
Here is the answer.
You cannot decide that from one finger, a filename, or a detector score. Current AI image generators can create convincing images. Real photographs can also look strange after compression, retouching, or difficult shooting conditions.
You need a verification chain rather than one supposed giveaway. I show you nine checks, each answering a different question.
- Start with the source and context. An image without traceable provenance deserves closer review.
- Check official provenance signals such as OpenAI SynthID, Google SynthID, and C2PA Content Credentials.
- Visual artifacts and general detectors are clues, not proof.
 gradually.ai
1. Check the source and context
Look for the original post first. Is there a named photographer, agency, venue, or another independent image of the same event? Do the date, weather, clothing, and surroundings match the claim?
A screenshot without a link, a newly created account, or a sensational caption does not prove AI use. Each is a reason to investigate further.
2. Run a reverse image search
Use Google Images to look for similar files, older publications, and possible originals. If necessary, crop a distinctive part of the image and search again. That often works better than uploading a screenshot full of text and interface elements.
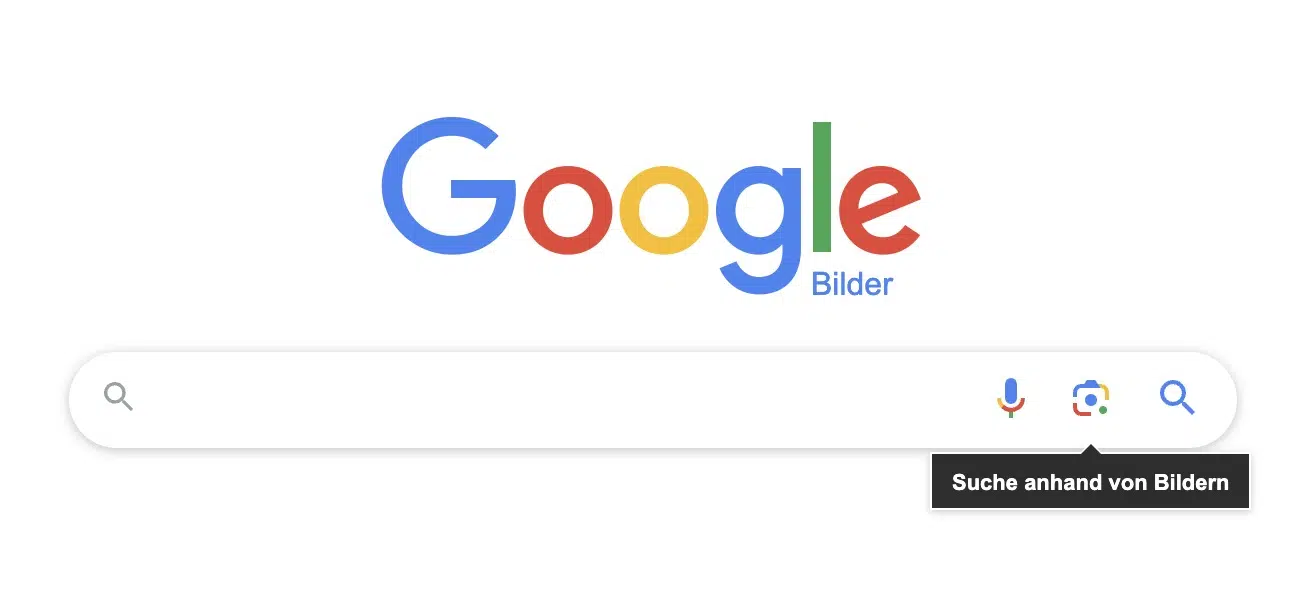
Reverse search will not find every original. It is particularly useful when someone attaches a new story to an old photograph or manipulates a genuine image.
3. Verify OpenAI provenance signals
OpenAI says images from ChatGPT, Codex, and its image API contain both C2PA Content Credentials and SynthID. OpenAI offers its free verifier as a research preview. The verifier for OpenAI-generated images accepts PNG, JPG, and WebP files. It looks for OpenAI's SynthID signal and trusted OpenAI C2PA data.
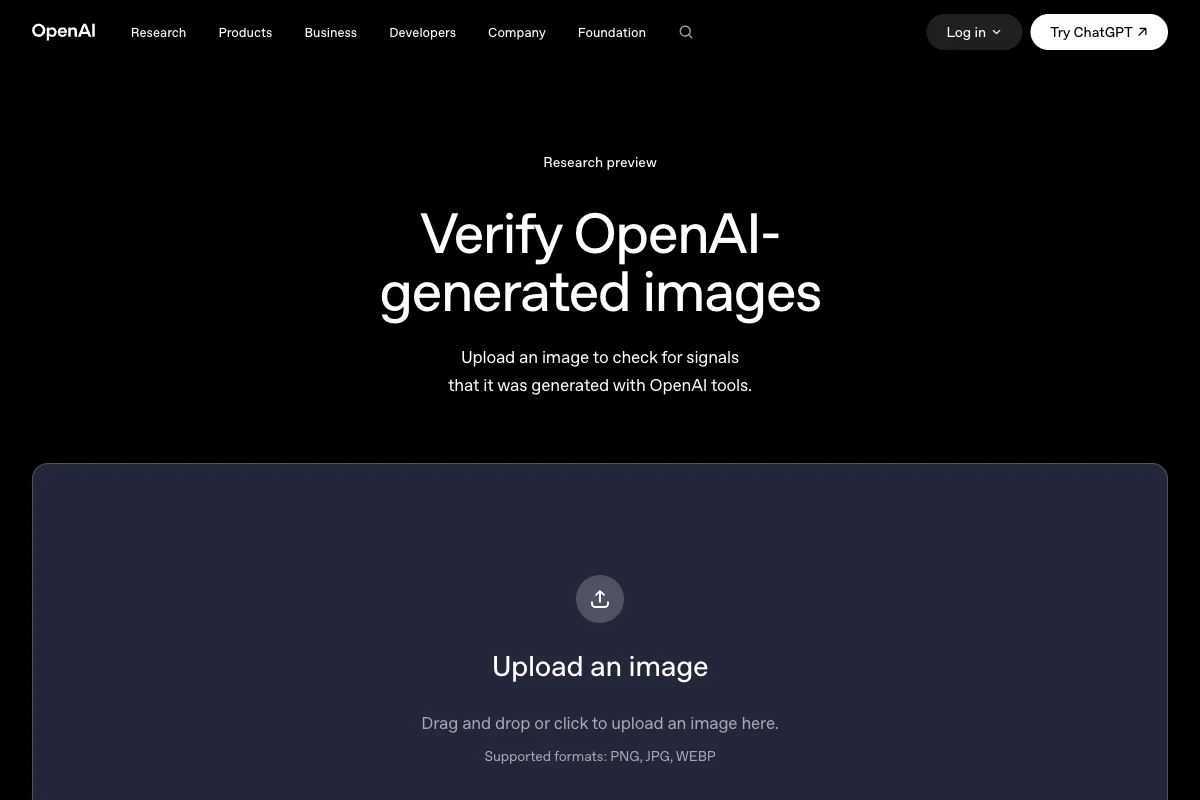
A match indicates generation with OpenAI tools. No match does not exclude OpenAI or another generator. Editing, compression, or screenshots can impair the signals. The verifier also says nothing about truth, copyright, ownership, or context.
4. Check Google SynthID
Google adds SynthID to media generated with Gemini and other supported Google AI tools. According to the official instructions, you can upload one image to the Gemini app and ask whether it contains a SynthID watermark. For screenshots, Google recommends cropping closely to the image itself and avoiding collages.
A detected SynthID signal connects the content to a supported Google AI system. If Gemini finds no signal, the image may come from another system or may have been altered enough to affect detection.
5. Inspect Content Credentials
C2PA Content Credentials are cryptographically signed provenance records. The Content Credentials verifier shows whether it found a validly bound manifest, who signed it, and which edits were recorded.
Missing credentials are not evidence of deception. Not every camera or AI tool supports C2PA, and platforms or export tools can remove metadata. My technical guide to C2PA explains those limits in detail.
6. Put metadata and filenames in context
An original camera file may include EXIF details about the camera, lens, exposure, and focal length. A genuine photo downloaded from social media often no longer has them. EXIF fields can also be copied or changed.
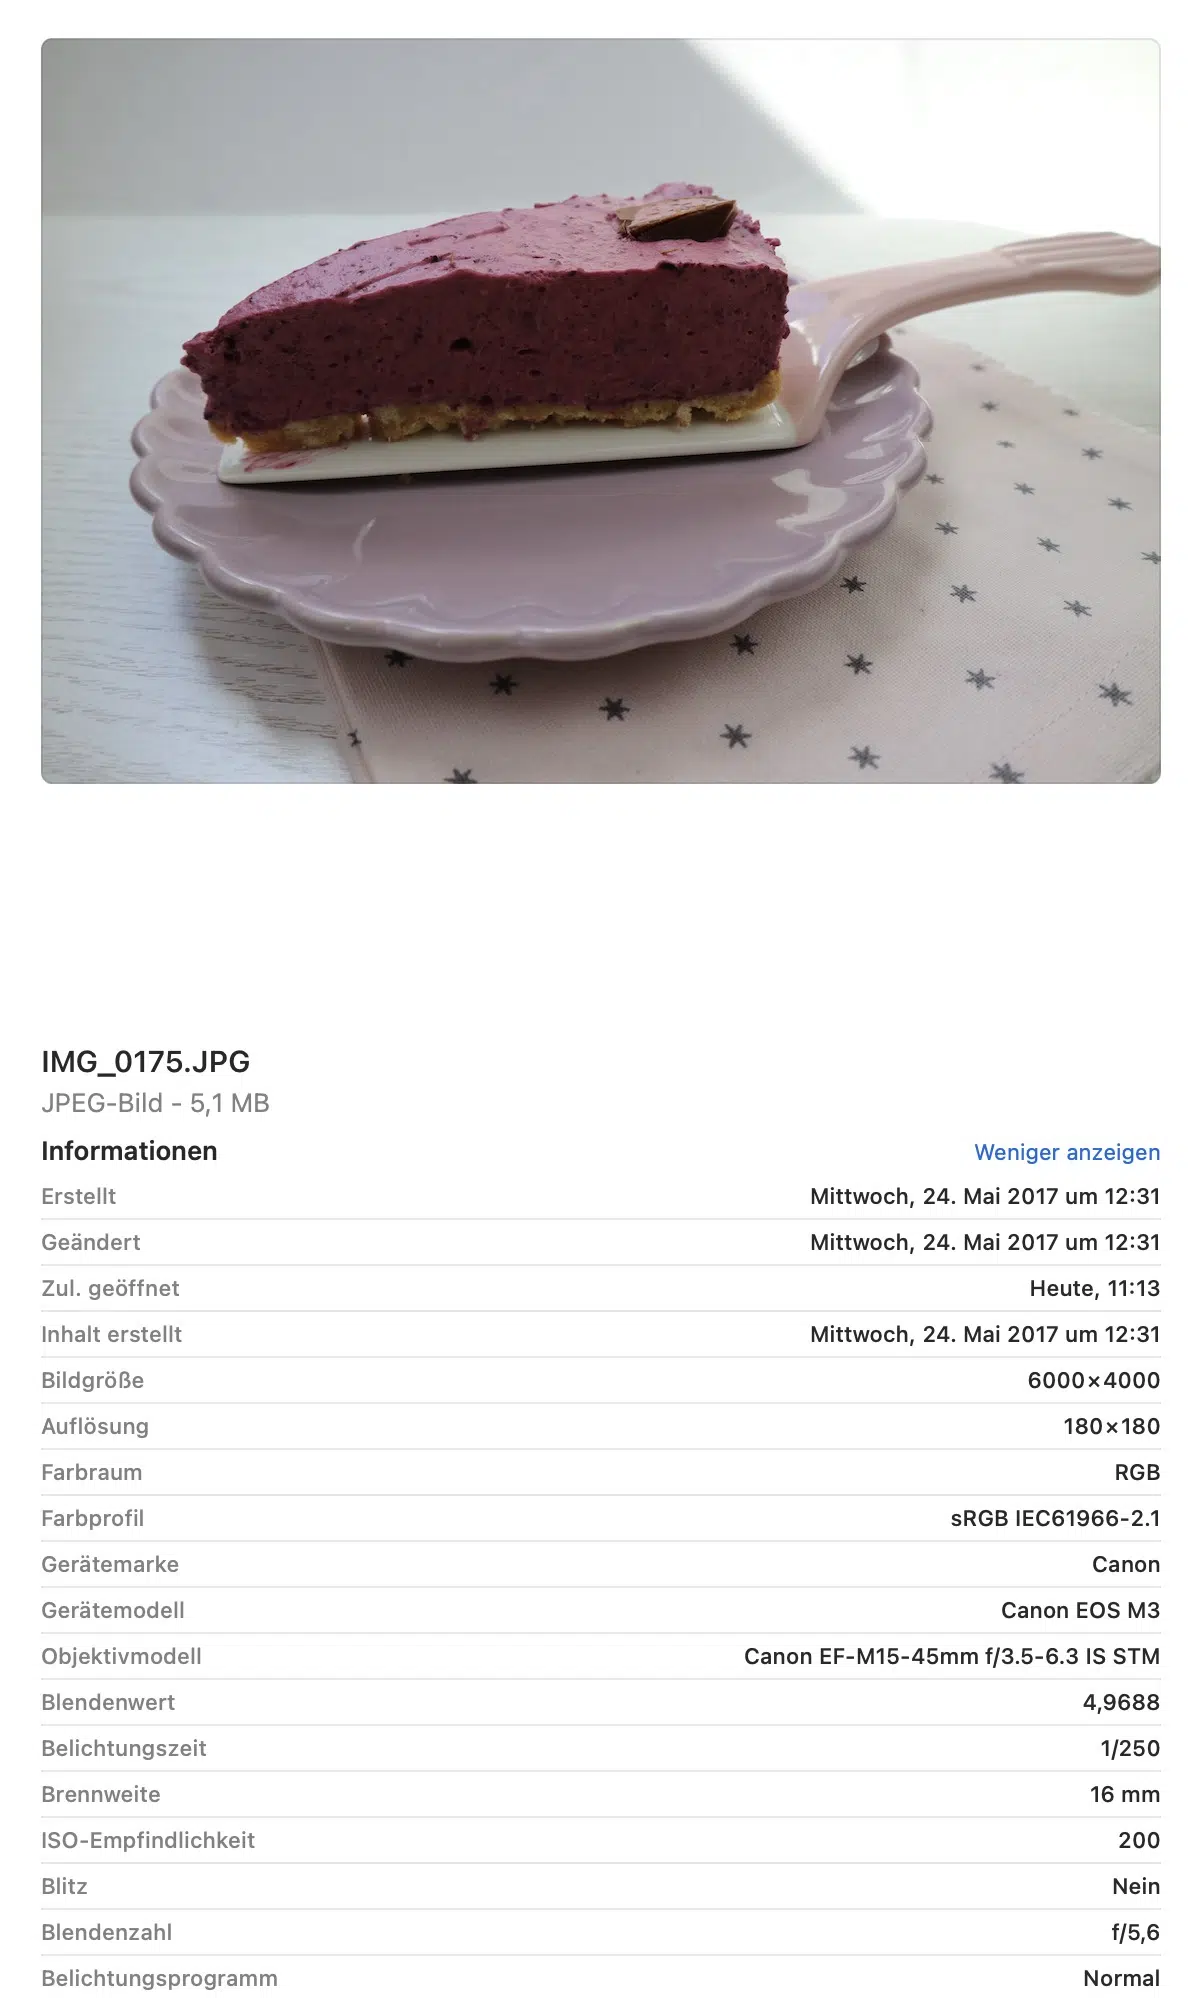
Filenames are only a historical clue. Older Midjourney or DALL·E files sometimes include a tool name, prompt, or job ID. Renaming or downloading the file again destroys that clue.
7. Inspect anatomy, text, and geometry
Trace fingers, glasses, jewelry, railings, windows, and repeated patterns across the image. Look for substituted characters in text and stairs or edges that end without a logical connection.
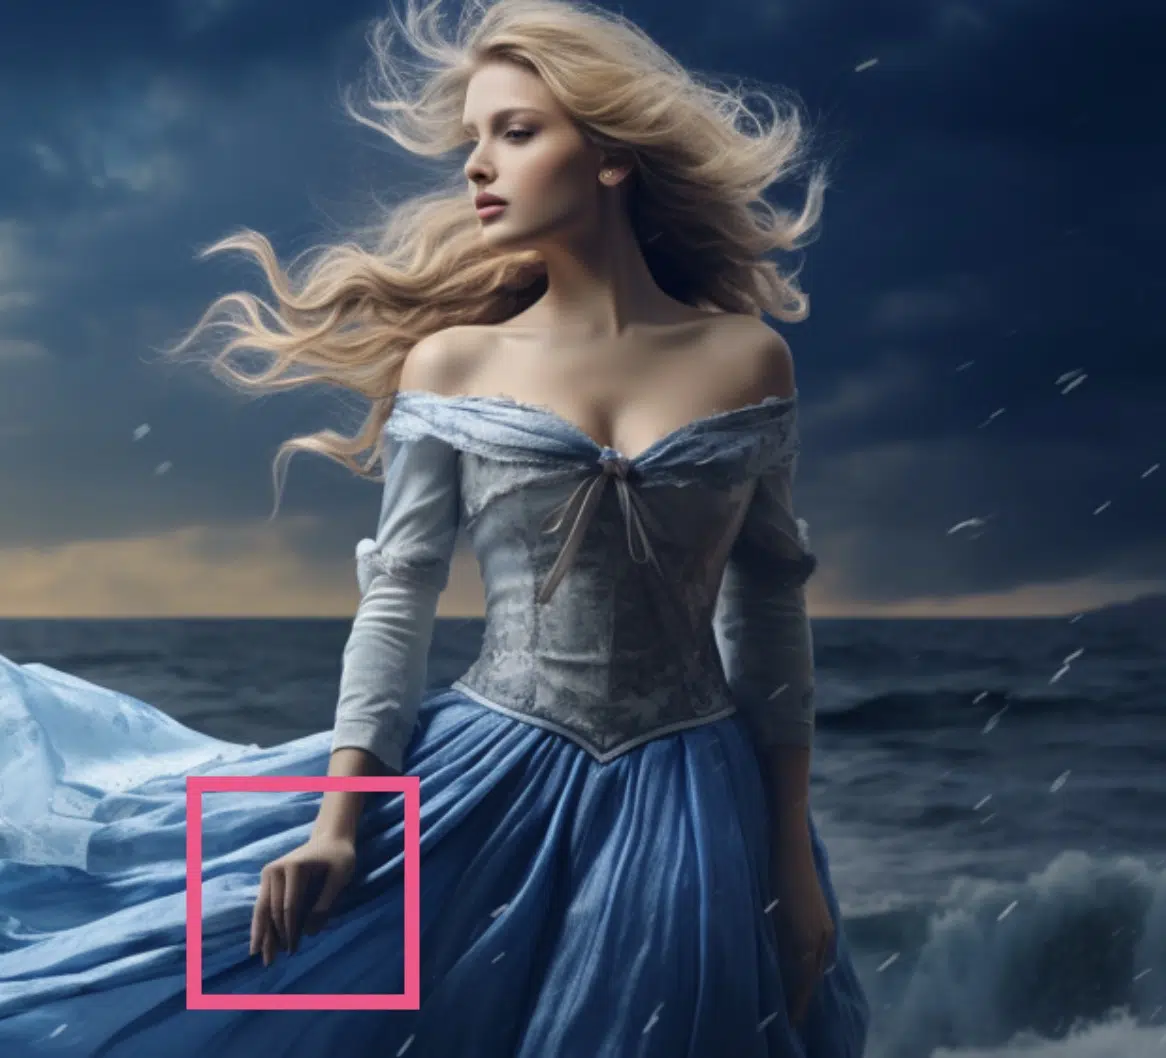
These artifacts are common in older or weaker models. Current models such as GPT Image 2 and Midjourney V8.1 avoid many of them. Correct hands and readable text therefore do not prove that an image is a photograph.
8. Compare light, shadows, and reflections
Find the strongest light source and compare the direction and hardness of every shadow. Check mirrors, windows, water, and glossy surfaces. A person may cast a shadow to the left while a nearby object produces an implausible angle.
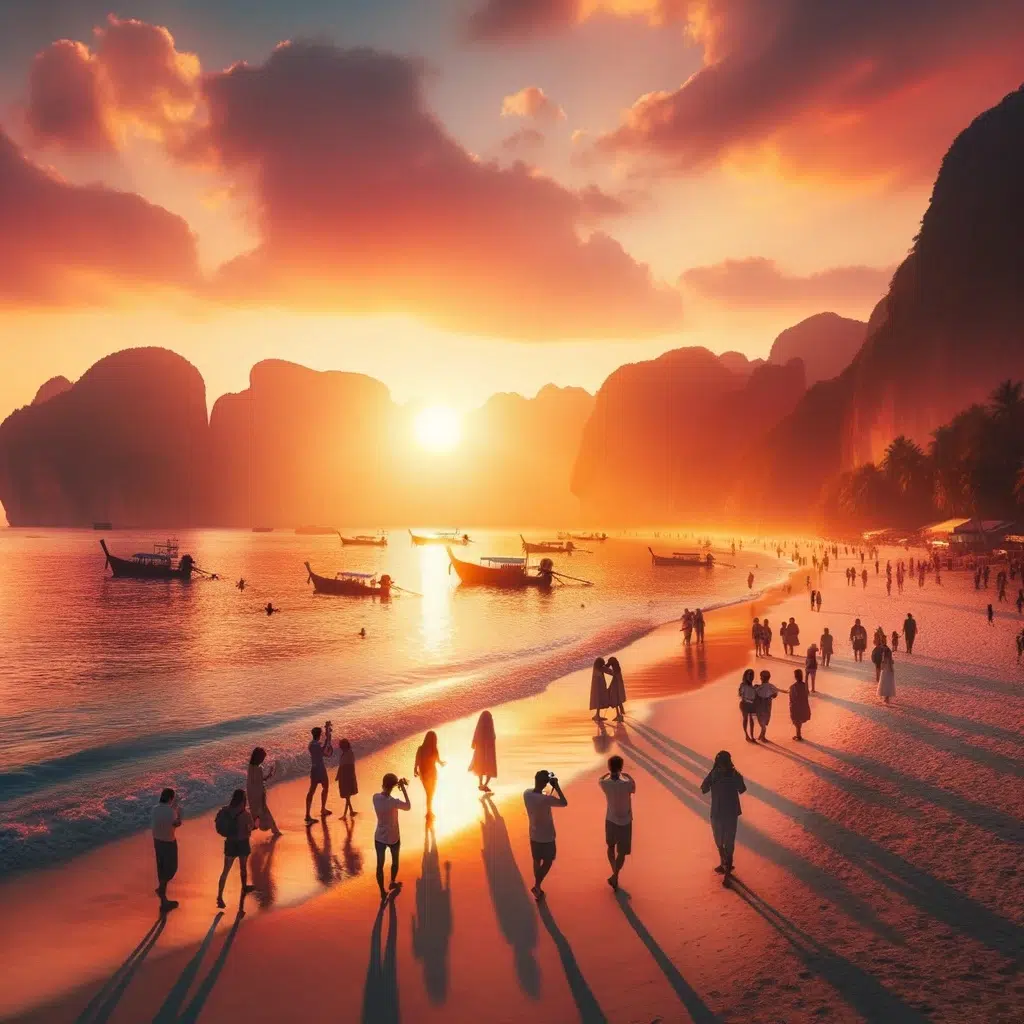
Multiple light sources, flash, HDR, and editing can also make genuine photographs look unusual. Treat lighting errors as a clue, not a verdict.
9. Use general detectors only as supporting evidence
A general AI detector estimates whether an image resembles patterns in its training data. New generators, compression, cropping, and post-processing can change the result. A percentage looks precise but is not meaningful without a suitable, independent test dataset.
For a serious case, I use this order:
- Preserve the original source and the claim being made.
- Check reverse search results and independent reporting.
- Test provider-specific provenance signals.
- Inspect C2PA, EXIF, and file history.
- Review visual details and, at most, add a general detector result.
If the conclusion affects a person, publication, or business decision, document each step. When the result remains uncertain, do not state that the image is AI-generated. Explain which signals you found and which questions remain open.
Frequently Asked Questions
A general detector provides a probability, not proof. Results can change with the generator, edits, compression, and test dataset. Never use one as your only evidence. A valid provider-specific provenance signal is more informative when available.
No. A missing watermark does not prove that an image is authentic, and an odd-looking hand does not prove that AI was involved. A stronger review combines source checks, reverse search, provenance signals, metadata, and visual inspection.
No. Article 50 assigns different duties to providers and professional deployers. A visible disclosure is relevant when a professional deployer publishes a deepfake, while platform policies may go further. See the guide to labeling AI-generated content for the detailed rules.
Useful options include Google reverse image search, OpenAI's verifier, SynthID verification in Gemini, and the official Content Credentials verifier. They answer different questions. No single tool reliably identifies images from every provider.
There is no complete technical safeguard. Robots rules and provider opt-outs are useful signals but cannot stop copies from other sources. Glaze is designed to cloak an image's style, while Nightshade targets training signals in a different way. Contracts, licenses, visible notices, and retained originals provide additional protection and evidence.